Admin Guide
Installing
Desktop Application
For the IT department, it is possible to install the desktop application by means of a silent install. This way, the user no longer needs to enter the tenant name at first use.
The command, which should be executed with administration rights is the following
_Msiexec /i "Passerelle Coach x.y.z.msi" COACHUSERLANGUAGE=EN COACHTENANT=your-tenant /qr
The parameter COACHUSERLANGUAGE is optional and a 2 letter iso-code
Administration
You can manage your cloud environment by means of the admin application. This web-based application can be reached through the following url:
https://your-company.passerelle.supportsquare.io/coach/admin
Media Library
To access your cloud media library, click on “Media”. This way you get an overview of all your Media, or you can filter by subcategories Pictures, Videos or Documents.

To create new directories or add images, videos or pdf documents, click on “+”.
Media can have three levels of visibility - Enterprise : Everyone in your company can view the media - Site : Everyone in your site can view the media - Private : Only you and administrators can view the media
You can select the visibility of each folder or media object - Folders : Click the three dots ... and select Edit - Files : open the file and click on the information icon


Manage Instructions
Upon visitting the instructions page, you can create new instructions or edit existing ones if you have ownership. By creating directories and subdirectories, it is possible to add more structure in your set of instructions.
Create


Edit
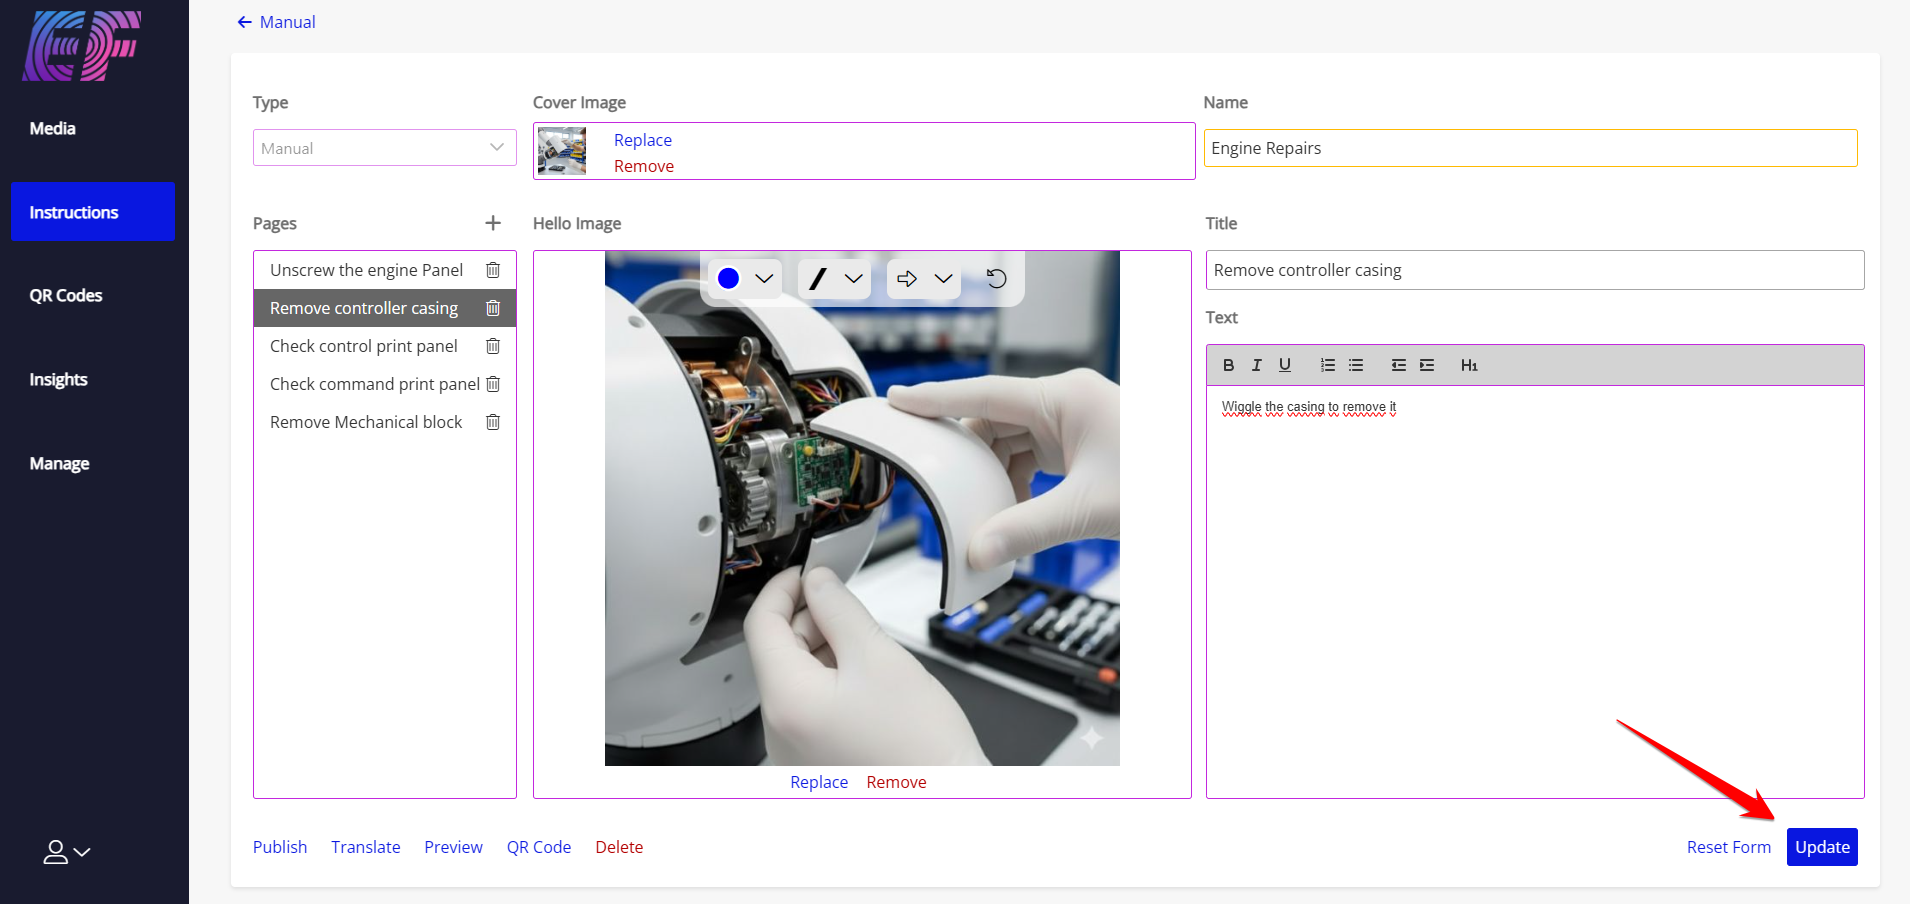
Here, you can add pages with an image and text to the instruction, delete them or change the instruction's title or cover image. After chaning anything, the update button will appear.
Drafts
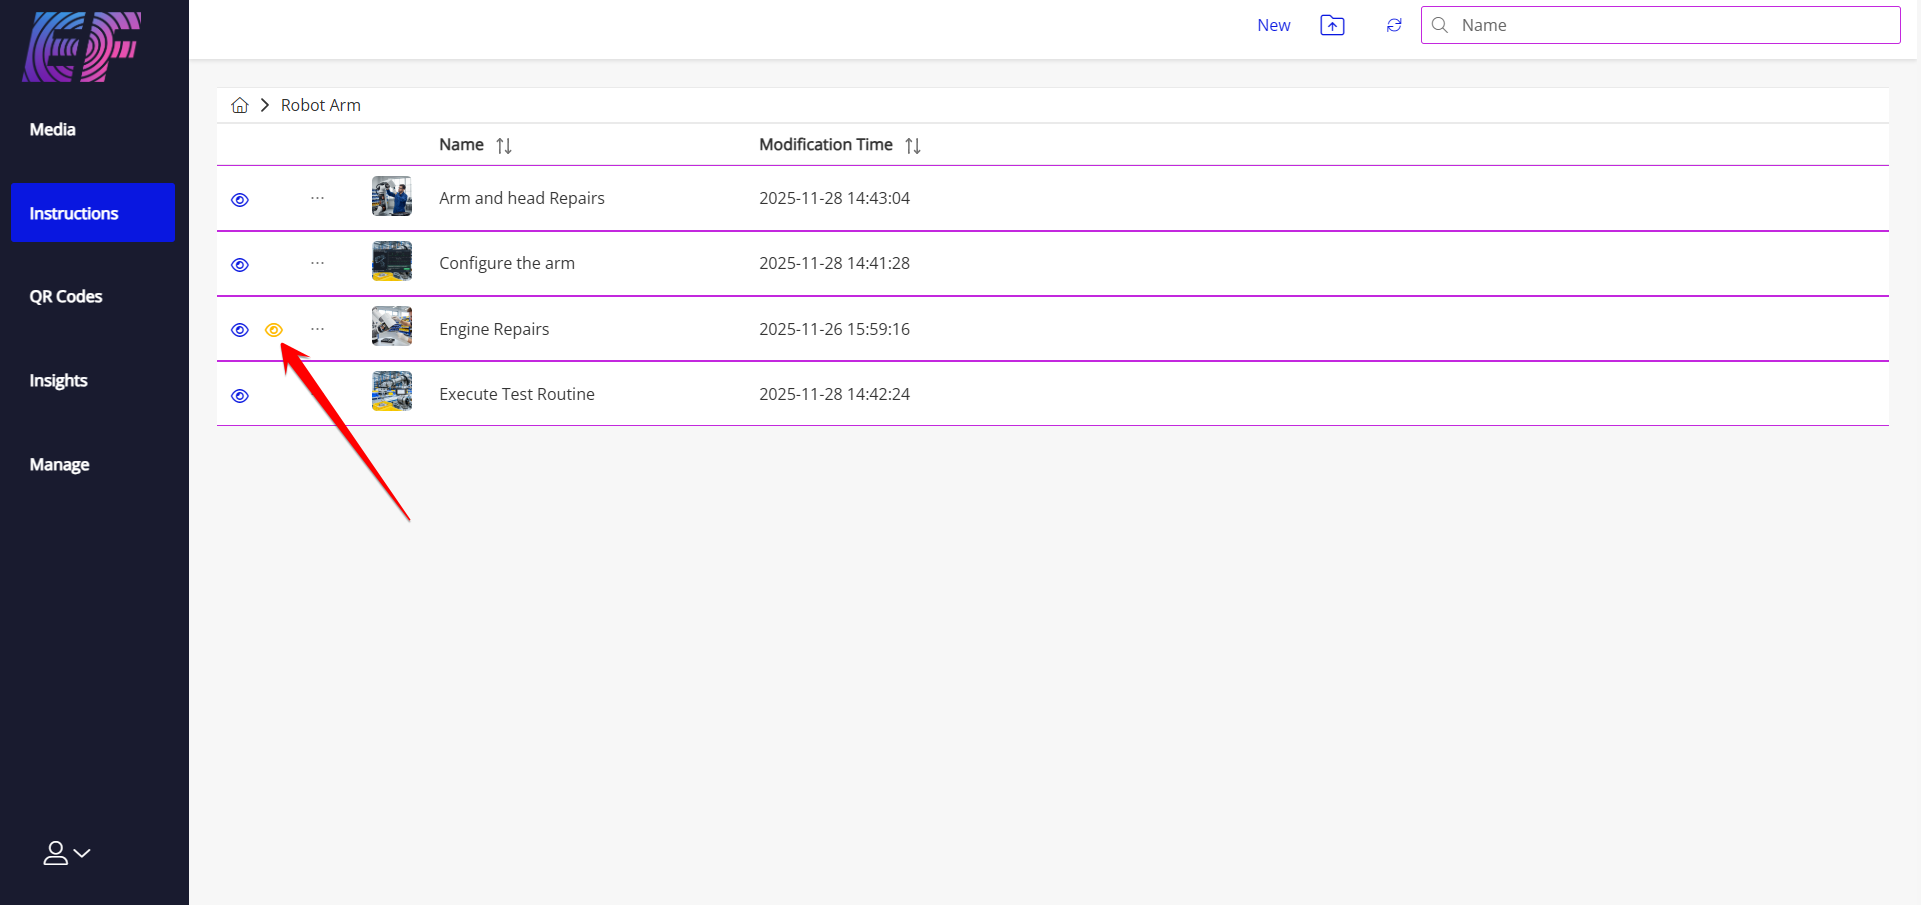
When creating a new instruction, it is automatically published. However, when you make changes to an existing instruction and save them, they are stored in a draft version. Your users will not yet see any changes made until you publish your instruction. An instruction with unpublished changes is presented by a yellow eye icon.
Manage QR Codes

When a new QR code is created, it's type should be selected

There are four types available, and for each QR code - It can be toggled active/inactive - Visiblity can be set - Statistics are kept when and who scanned the QR code
Link
Opens another webpage - Visibility

Call invite
Start a call with a specified recipient, or a group of recipients

Instruction
Opens the selected instruction - A destination can be set: In case the instruction is unclear and needs further explanation, the user who is using the instruction can start a call to get help from the destination user or group - An origin can also be set, so only the specified user or group can access this QR code

Menu
Opens a list of instructions - Just as with a single instruction, a destination and origin can be set here as well

Manage Usage
The 'Insights' option gives you a dashboard with some usage Stats.

There is the option to do some fine grained filtering or generate a pdf or excel report.
Manage Users
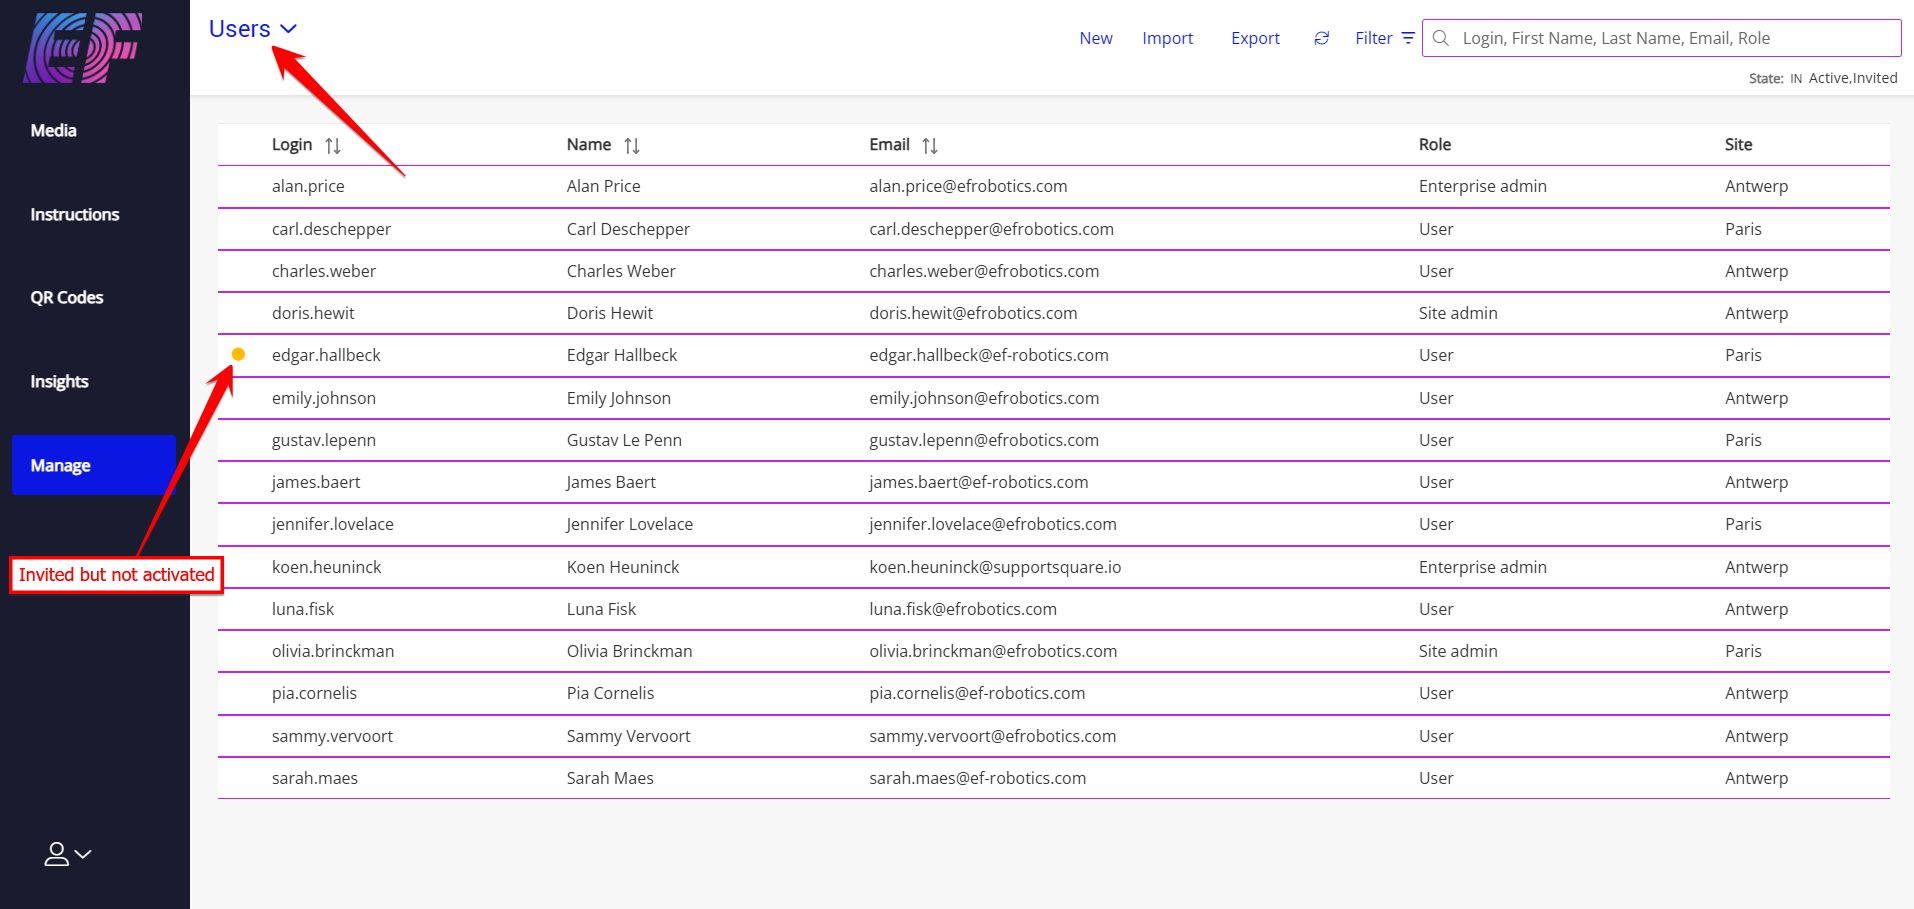
To use the application, users needs to be registered. After creating a user, the user will receive an invitation mail to activate the account and setup his password. Inform the user to check the spam folder if the mail does not seem to arrive.
An important aspect when creating a user is the Role because the Role will determine the access-rights of the user.
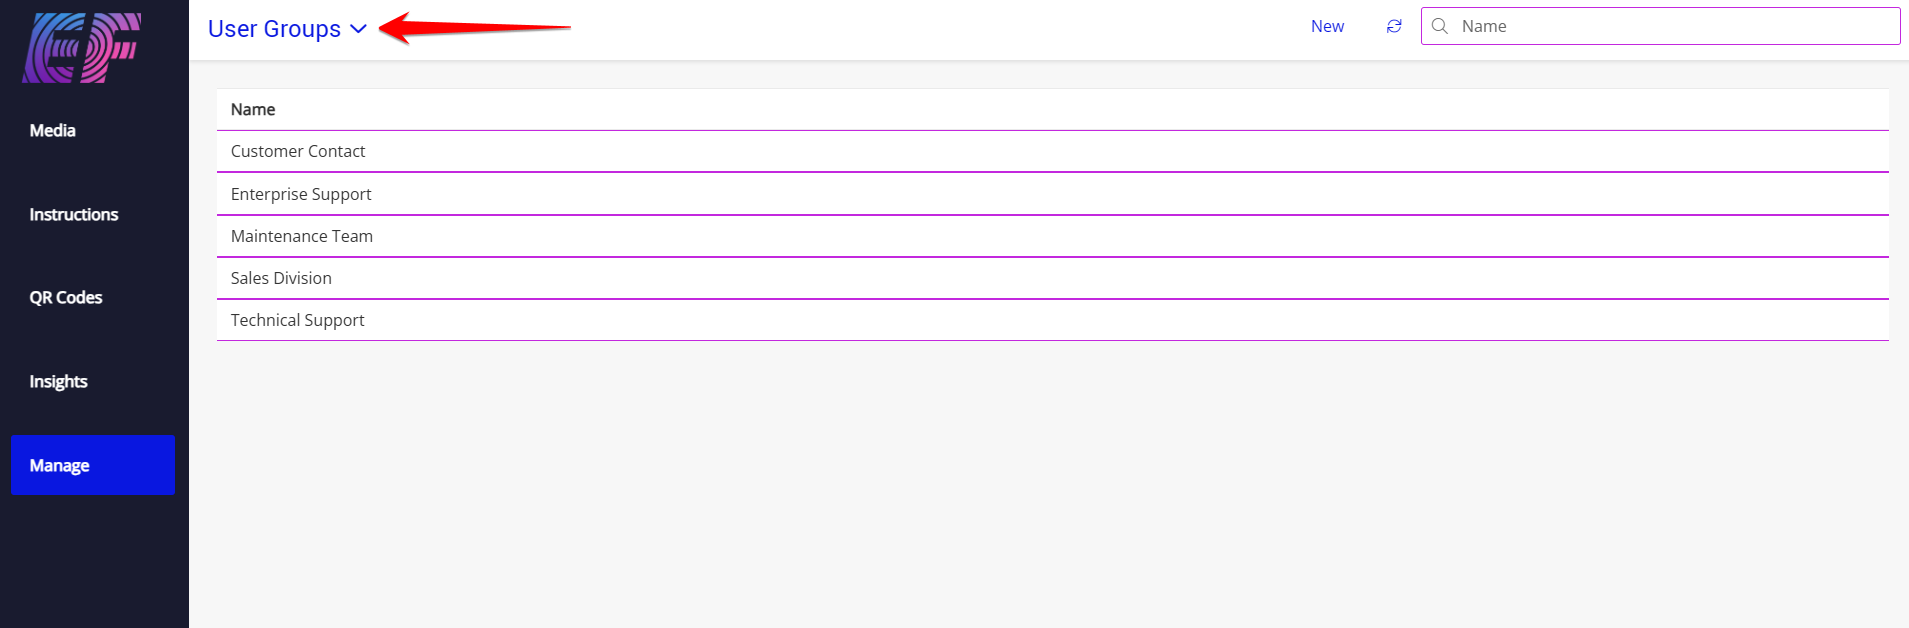
Manage User Groups
User Groups are useful to make calls to a 'Support Group'. The first one to pick up 'wins' the call.
Manage Sites
Bigger companies can opt to create multiple sites, each having their own set of users. Users with the role 'Site Admin' will only be able to see users and statistics of their site.

